4 Must-Try Family Art Night Ideas Your Kids Will Ask For Again
Screen-free bonding time has become one of the most meaningful parts of our weekly routine, and nothing brings our family together quite like art night. These creative moments give kids a break from structured schoolwork and help them grow through patience, problem-solving, and hands-on exploration.
Over the years, we’ve tried dozens of activities, and a few have turned into favorites we return to again and again. Paint by Numbers kits work beautifully with 10-year-olds, while nature collages, storybook illustrations, and clay characters add variety and excitement.
Let me share the artistic ideas that transformed our family evenings and kept my kids asking, “When’s our next art night?”
1. Paint by Numbers by Number Artist
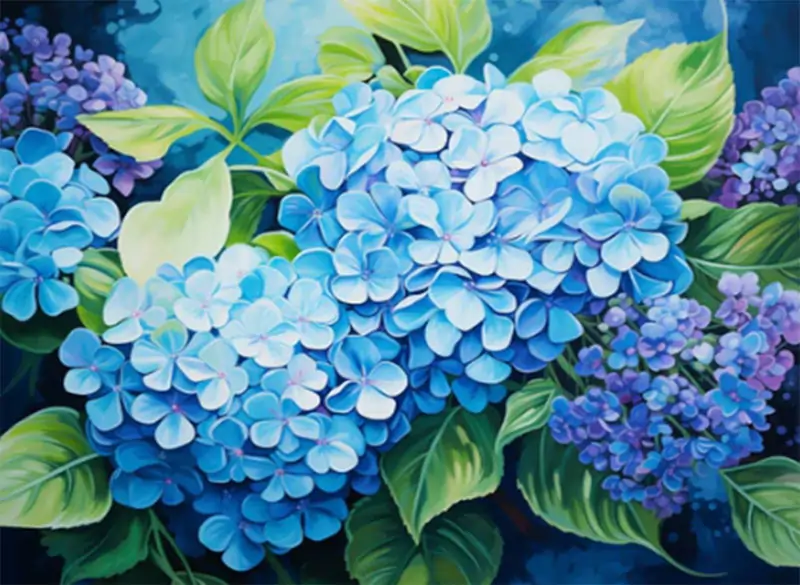
Paint by Numbers has become our family’s go-to choice for art nights. It gives everyone a clear path to create art and helps build confidence in artists of all ages. As a parent, I love how these kits include everything we need – numbered canvases, paints, and brushes. The whole experience is simple yet rewarding.
Paint by Numbers overview
Paint by Numbers lets you create art through a guided technique. The canvas has numbered sections that match specific paint colors. Each part of the canvas shows a number linked to a paint color. This system lets anyone create beautiful artwork, whatever their skill level. Many families even choose a paint by number from photo, to turn their favorite moments into personal artwork they can recreate together. It is easier for beginners and also engaging for kids, giving them a fun way to paint something familiar and meaningful.
Number Artist makes high-quality kits perfect for families. Their real cotton canvases (not paper) soak up paint beautifully and look professional. The water-based, non-toxic acrylic paints are safe for kids and eco-friendly. Safety comes first in family settings, making these kits ideal.
The steps are simple:
- Prepare your workspace with good lighting
- Organize your materials (canvas, paints, brushes, water cup)
- Match the numbers on the canvas with corresponding paint colors
- Watch as your masterpiece comes together stroke by stroke
- Display your finished artwork proudly
Why kids love Paint by Numbers
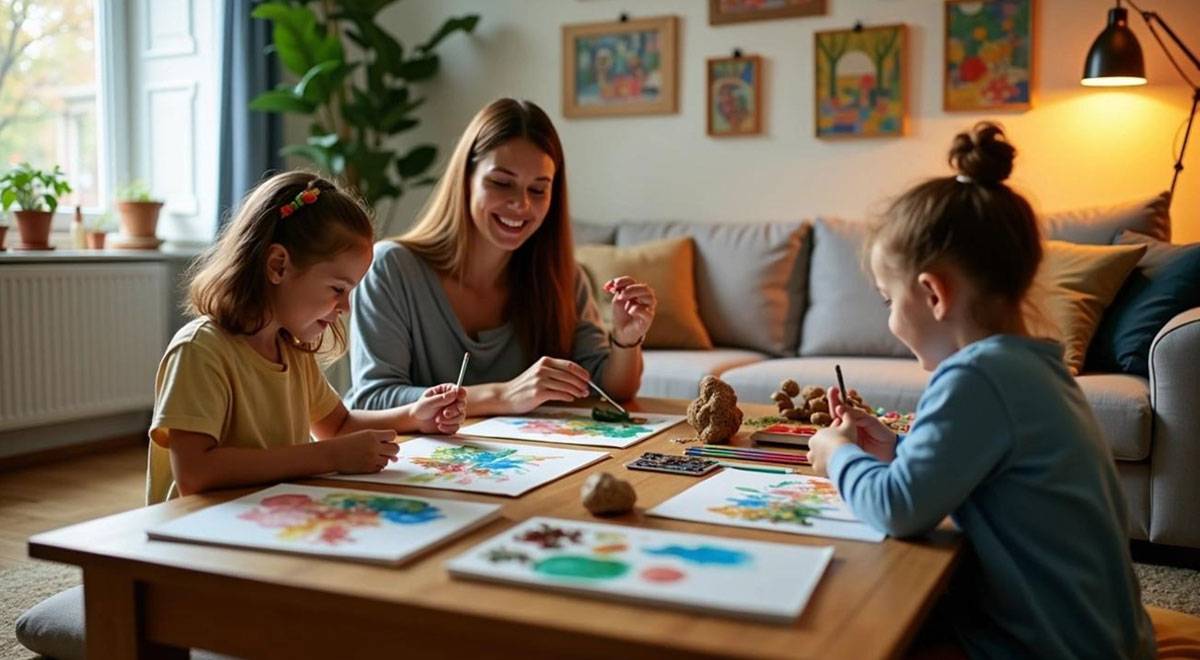
My kids jumped right into Paint by Numbers because it takes away that scary “what should I paint?” question that often stops young artists. They can just enjoy bringing a pre-designed image to life.
The kits give children real pride in their work. Finishing a paint by numbers project helps boost their self-esteem and confidence. This matters so much for kids who are learning about art and building their skills.
Paint by Numbers helps develop important abilities. Studies show this activity improves focus, hand coordination, and creativity. Kids learn spatial awareness and problem-solving as they work with numbered sections and matching paints.
Paint by Numbers gives structure but leaves room for creativity. Kids start to experiment as they gain confidence. They might change colors or add their own touches, turning it into self-expression. My 10-year-old started by following numbers exactly but now adds her own creative spin to designs.
Paint by Numbers tips for family art night
Good preparation makes family art night successful. Pick kits that match everyone’s age and skill level. Choose designs with bigger sections and fewer colors for younger kids. More detailed options work better for older kids and adults.
Set up a comfortable space where everyone has room to work. A long table works great, or push smaller tables together so nobody feels cramped. Put down newspaper or a disposable tablecloth to make cleanup easy.
Each person needs:
- Their own paint by number kit
- A cup of water for rinsing brushes
- Paper towels for wiping brushes and spills
- An apron or old shirt to protect clothing
2. Backyard Nature Collage Project
Our family found a new passion after we became skilled at structured art activities. We started making art with natural materials from our backyard. The Backyard Nature Collage Project became the life-blood of our family art nights. It blends outdoor exploration with artistic creation that everyone loves, no matter their age.
Backyard Nature Collage overview
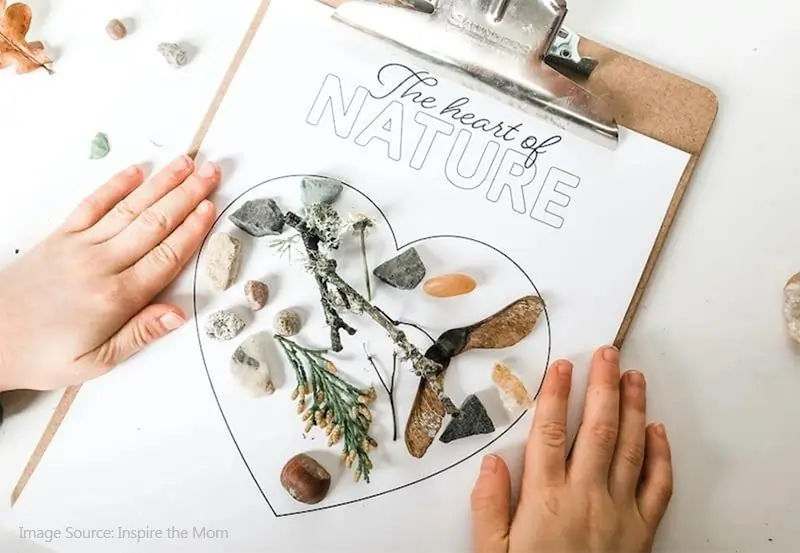
A nature collage turns everyday outdoor items into customized artistic pieces. The project starts with a treasure hunt in your yard, neighborhood park, or local green space. You’ll collect fallen leaves, flower petals, twigs, seeds, and other natural elements. Everyone then arranges these items on a surface to create unique artwork that shows off the season’s colors and textures.
This project shines because it’s simple and easy to do. You’ll need:
- A sturdy base (cardboard, construction paper, or thick paper)
- Adhesive (white glue works well for cardboard bases)
- Optional: Clear Con-Tact paper to create a “suncatcher” effect
- A container to collect natural items
- Scissors
The steps flow naturally from exploring to creating:
- Go on a short walk to gather materials and look closely at nature
- Clean and sort your collected items at home
- Try different arrangements on your base before gluing
- Attach items with glue or sandwich them between Con-Tact paper sheets
- Show off your artwork in a window or frame
This project stands out because it works for everyone. Young children can stick colorful leaves on paper to explore textures. Older kids might create detailed landscapes or abstract designs by carefully arranging materials. Nature collages work great at family gatherings with mixed ages.
Why kids love Backyard Nature Collage
My children’s experiences with nature collages have shown me why they keep coming back to this activity. They love collecting treasures and making art, and this project combines both. The original scavenger hunt feels like a game rather than work.
Nature collages give kids real creative freedom. Unlike other projects, there’s no “right way” to make one. Even toddlers can create beautiful pieces by putting leaves and petals together. This helps build confidence as kids make their own artistic choices.
These projects help kids connect with nature. They start noticing small details they might miss—leaf veins, bark textures, and subtle flower colors. This awareness helps them appreciate the natural world and feel more connected to their surroundings.
The sensory experience pulls kids in completely. Natural materials provide rich textures, scents, colors, and shapes that spark multiple senses at once. Kids who might not enjoy traditional art often love this hands-on approach.
Backyard Nature Collage tips for family art night
Here’s how to make your nature collage session a hit. Make the collection walk exciting. I tell my kids we’re going on a “color hunt” or searching for “nature’s treasures.” This gets them excited and focused right away.
Teach kids about respectful collecting. Show them to pick up only fallen items and take small amounts from each spot to protect wildlife homes. This teaches them about taking care of nature and leaving enough for animals.
Set up your workspace smartly. Try these mess-free ideas:
- Put clear Con-Tact paper sticky side up (held with tape) so kids can place items right on it
- Use rubber bands around cardboard to hold items while designing
- Head outside if the weather’s nice to avoid indoor cleanup
3. DIY Storybook Illustration Session
Our family art nights reach new creative heights when we mix storytelling with illustration. This gives children a chance to show their own unique visions. My experience as a parent and art lover shows that DIY Storybook Illustration sessions are great at encouraging imagination. Nothing matches these sessions, especially for elementary-aged children who are learning to tell stories.
Storybook Illustration overview
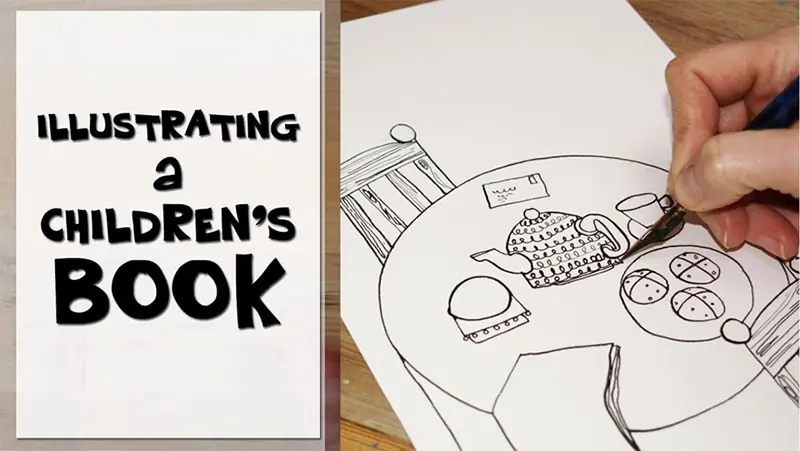
Storybook illustration blends visual art with storytelling. Pictures create engaging narratives. Artists design characters, settings, and scene sequences that tell stories without words. Kids learn to turn their imaginary ideas into visual form. This builds their artistic and storytelling skills at the same time.
You’ll need these simple items to start a storybook illustration session:
- White drawing paper (standard printer paper works well)
- Colored pencils, markers, or crayons
- Pencils to sketch
- Erasers to fix mistakes
- Optional: reference books with animal or nature images to inspire
The core process has sections on sketching characters, making settings, and putting together visual sequences. These show action or emotion. Yes, it is true that powerful children’s book illustrations tell stories through images alone. They show characters doing or feeling something that moves a story forward. Family art night becomes a team storytelling experience. Art becomes the way we share ideas.
Why kids love Storybook Illustration
Kids connect with storybook illustration naturally. They can express emotions through characters instead of directly. My children show me that this indirect way of showing feelings feels safer. It often leads to more genuine creative work. Kids project their feelings onto animal characters or fantasy creatures when it’s hard to express them directly.
This process lets creativity flow freely. Kids make their own artistic choices about character design and colors, unlike more structured activities. They build confidence as they make their own decisions about their visual stories.
Kids also see how storybook illustration helps them grow important skills. Drawing something makes children notice details they might miss otherwise. My 10-year-old thinks hard about how “embarrassed” or “guilty” looks when she draws these emotions. She’s building emotional intelligence while having fun.
Storybook Illustration tips for family art night
Pick an approach that fits what your family enjoys to make these sessions work well. You might start with a story you write together or pick a favorite book to illustrate specific scenes. Another way is to draw first and create the story later.
New illustrators can follow this simple plan:
- Create a main character with clear features
- Draw a place where the story happens
- Make 2-3 images showing what happens to the character
- Tell each other your visual stories and explain what happens
Some techniques make the experience better with good planning. Young children should focus on expression rather than perfect drawings. Big features often show emotion better than realistic ones. Children around 10 can learn about perspective and keeping characters looking the same from different angles.
Family storybook illustration works better as a team effort than alone. Take turns adding to each other’s drawings or make a family storybook. Each person can illustrate different pages of one story. Working together builds family bonds and teaches teamwork.
Gentle guidance works better than strict rules at this stage. Ask questions that make kids think deeper instead of telling them what to do. Try “How can you show excitement without drawing a smile?” or “What details would tell us where this story happens?”
Make the evening’s art last by creating a simple book. Use staples, string, or rings to bind the story illustrations. Kids will look at these keepsakes again and again. The impact of your family art night lasts much longer than one evening.
4. Build and Paint Air-Dry Clay Characters
Nothing beats the magic that happens when children mold air-dry clay into characters during family art night. Kids can create three-dimensional art that involves different creative muscles. This hands-on activity gives a satisfying sensory experience that appeals to artists of all ages.
Air-Dry Clay Characters overview
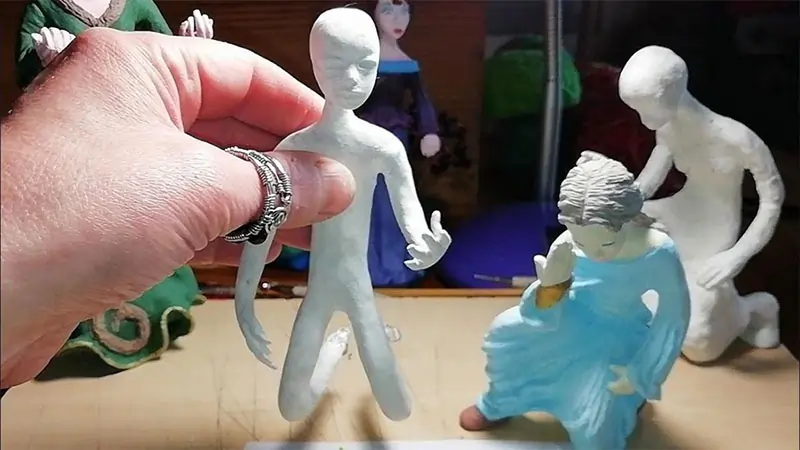
Air-dry clay gives children complete creative freedom with no “right” or “wrong” ways to use it. Kids can build anything they imagine, from fantastical beasts to miniature food items. This material feels like traditional potter’s clay but doesn’t need kiln firing – it hardens naturally in the air for 24-72 hours.
The character-building process typically involves:
- Sketching a simple design (optional but helpful for older children)
- Creating simple shapes for the body and limbs
- Adding details like facial features or clothing elements
- Assembling pieces using scoring and slipping techniques
- Allowing to dry completely before painting with acrylic colors
A shapeless lump of clay becomes a recognizable character through simple hand movements. Kids get immediate tactile feedback that’s deeply satisfying, especially for those used to digital interactions.
Why kids love Air-Dry Clay Characters
Clay’s tactile nature and the focus needed for detailed work create a calming, therapeutic experience. Many children find this a great way to channel their energy and improve focus.
Clay gives kids a non-verbal way to express their feelings, ideas, and experiences. They might sculpt characters from stories, create objects from their daily life, or shape forms that reflect their mood. This artistic expression helps develop vital communication skills.
The clay-working process develops several significant abilities:
- Fine motor skills grow as kids squeeze, roll, pinch, and shape the clay
- Problem-solving abilities improve when they figure out “How do I make this stand up?” or “How can I make these pieces stick together?”
- Patience develops as they learn beautiful outcomes need sustained effort
- Sensory development happens through touching, seeing, and manipulating the clay
Clay gives instant feedback. Kids can squish their creation and start again if something doesn’t work, which promotes resilience and creative risk-taking.
Air-Dry Clay Characters tips for family art night
Good preparation will give your clay character session the best chance of success. Start by gathering these simple supplies:
- Air-dry clay (Crayola Air Dry Clay is recommended for its texture and workability)
- Feathers, googly eyes, or natural items for decoration
- Water pot and small paintbrush for smoothing
- Toothpicks or wooden tools for details and joining
- Acrylic paints for finishing
Fresh clay needs conditioning – knead it for a few minutes to make it more pliable and workable. Dab a tiny bit of water with your finger or sponge and gently rub until smooth if the clay starts cracking.
The “score and slip” method creates strong connections between pieces. Make small cross-hatch marks on both surfaces where they will connect, add a tiny bit of water, then press firmly together. Your character’s parts will stay attached once dry.
Characters need sturdy legs to support their body weight. Big, chunky legs and feet help the character stand independently.
The experience matters more than perfection. Air-dry clay lets children express themselves freely – there’s no “right way” to create a character. This creative freedom builds confidence and innovative thinking as kids bring their ideas to life.
Comparison Table
| Art Activity | Main Materials Needed | Key Benefits/Skills Developed | Age Suitability | Setup/Preparation Requirements | Display/Storage Method |
| Paint by Numbers | Pre-printed numbered canvases, paint sets, brushes, water cup, paper towels | Builds concentration, improves hand coordination, boosts creativity and confidence | Works well for all ages – simpler designs suit young children, complex ones for older | Well-lit area, protected work surface, separate materials per person | Display finished work in frames |
| Backyard Nature Collage | Sturdy base (cardboard/paper), adhesive, container for collecting, scissors | Connects with nature, develops senses, unleashes creativity, sharpens observation | Perfect for any age – adjust complexity as needed | Take a nature walk, prep workspace, add protective cover | Frame or window display; capture photos of temporary pieces |
| DIY Storybook Illustration | White paper, colored pencils/markers/crayons, pencils, erasers | Enhances storytelling, builds emotional awareness, strengthens reading skills, sparks imagination | Best for elementary age, works for everyone | Set up art supplies, decide between story or pictures first | Bind completed stories simply |
| Air-Dry Clay Characters | Air-dry clay, decorative items, water pot, paintbrush, toothpicks, acrylic paints | Strengthens hand control, teaches problem-solving, builds patience, explores textures | Suits all ages with adult guidance | Prep clay, protect work area, gather tools | Let dry 24-72 hours before displaying |
Conclusion
Family art nights create far more than colorful projects—they build confidence, curiosity, and strong connections between parents and children. Each of the activities we explored offers something unique: Paint by Numbers helps hesitant artists start with success, nature collages bring kids closer to the outdoors, storybook illustration encourages imagination, and air-dry clay characters give children a chance to create in three dimensions.
These projects grow with your family’s interests and are easy to adapt to whatever materials you have at home. My kids now look forward to art nights as a time to express themselves freely and to spend focused, creative time together. With just a little preparation, your weekend can turn into a memorable creative adventure your children will treasure—and eagerly ask to repeat.